On Monday, September 10th I’m giving a presentation at the Northwest Quilters Guild on machine embroidery techniques I call Zigzag Pizzazz. When I was studying design and embroidery through London City and Guilds, we spent one six-month session on machine embroidery. Among the numerous samples required, I did one each of satin stitch bars, satin stitch beads and drizzle. I started thinking about these techniques a few years ago, how much I had enjoyed doing them, and shouldn’t I take another look to see how I could actually use them in my work. Some questions I asked: How could I incorporate them into quilting and fiber art in general? What combination of materials and techniques worked best together? How could I do them differently or better? These questions led me to some successes and a few failures. But overall I refined and developed the techniques, making them my own.
As a follow-up to the presentation, I offering a workshop on Saturday, September 15th. The focus is technique rather than project, although participants can turn their samples into a small wall hanging or table runner if they wish. Here are the four blocks I’ve created and the techniques they feature. Notice that all are built around a zigzag stitch, whether automatic or free-motion. These techniques are a great way to make use of your machine’s zigzag stitch beyond the basic zigzag around appliqué.
The first block begins with satin stitch bars. I like to use rayon threads, such as Sulky or Madeira, for the sheen and coverage. You can use other shiny threads, such as a polyester, but they are generally fine and require many more stitches to cover. Notice how I stitch in curved lines over motifs for the most interest.
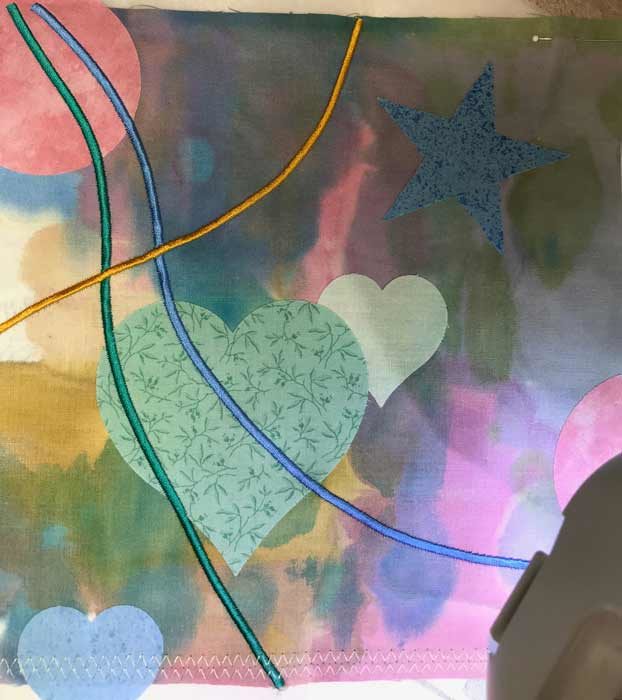
Satin stitch bars
Then I drizzled over the satin stitch bars and fused, raw-edge appliqué, which secures it. Drizzle is an allover zigzag in closely spaced rows, first going in one direction then another.
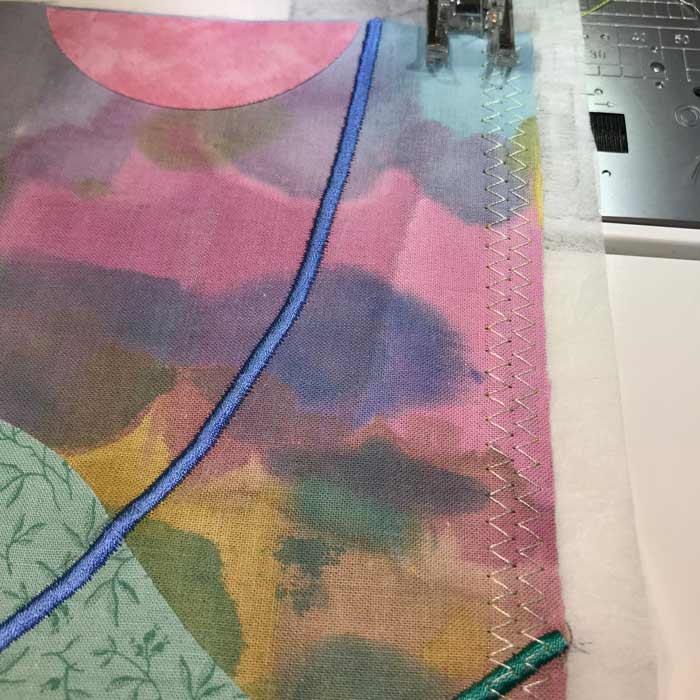
First two rows of drizzle
First complete pass.
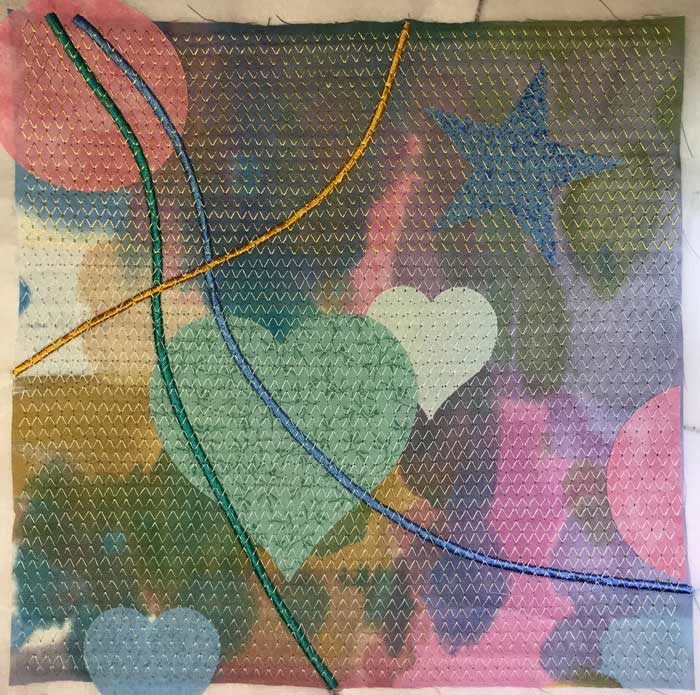
Drizzle–first pass in one direction
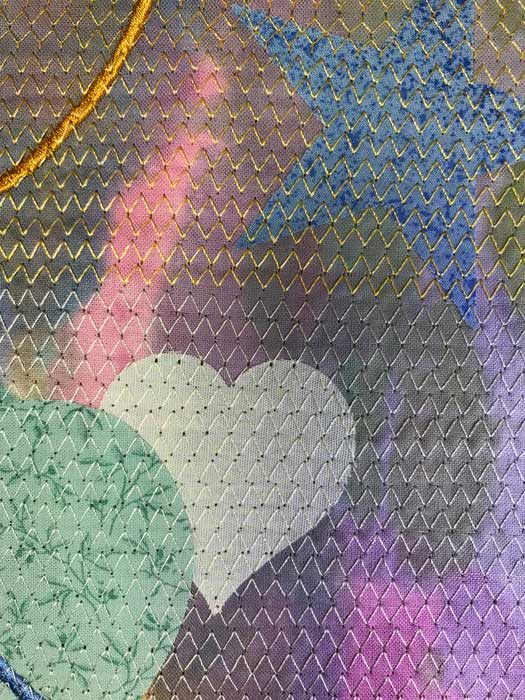
First pass detail shot
I use rayon threads both directions or rayon with a metallic. Note that I didn’t completely cover the block diagonally to show the difference a second pass makes. The upper right-hand and lower left-hand corners have been only zigzagged horizontally.
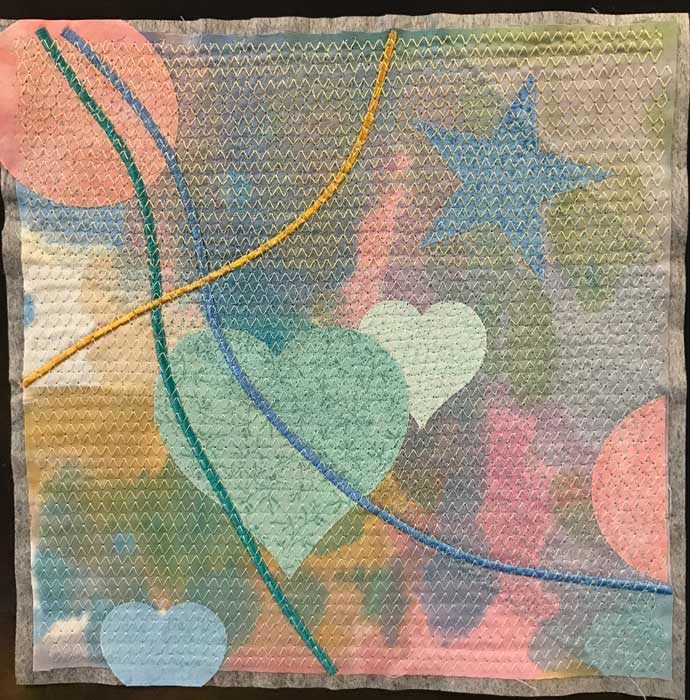
Here’s a detail shot.
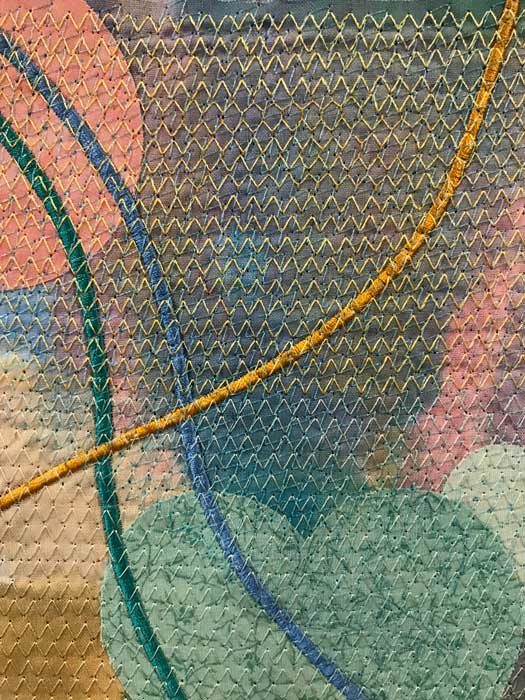
satin stitch and drizzle detail
You can also do chicken tracks which is zigzag in just one direction. I stitched bands to show the difference the coverage makes.
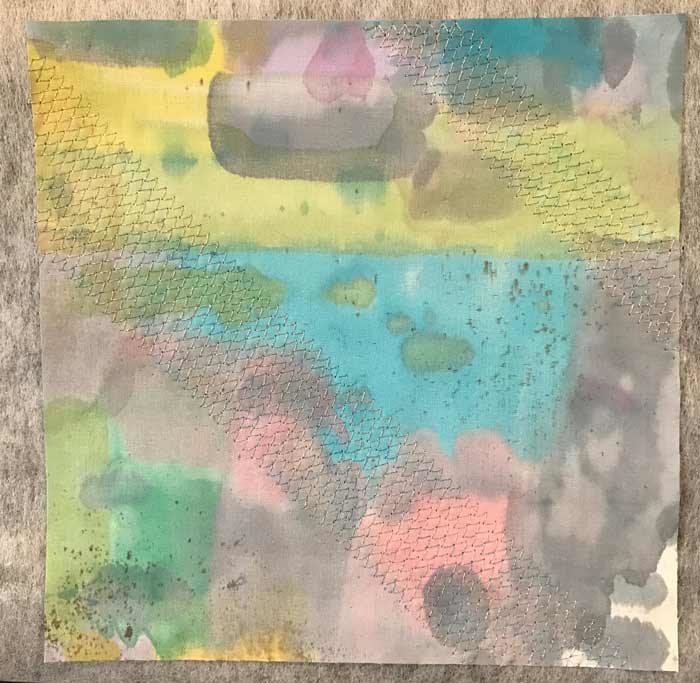
Chicken Tracks
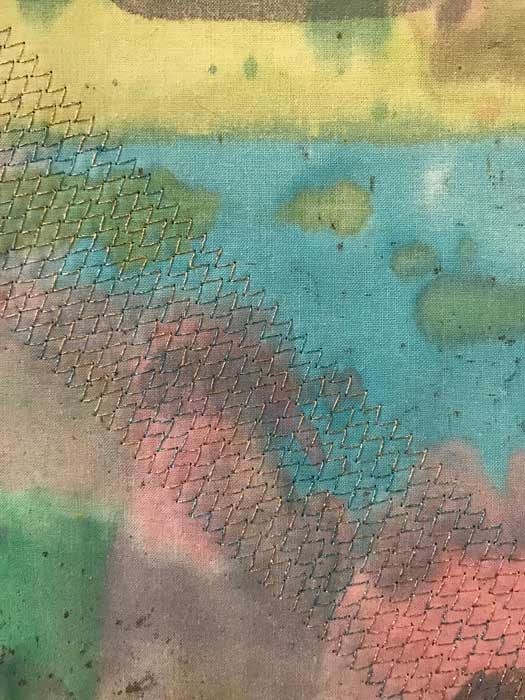
Chicken Tracks detail
This block with chicken tracks features free-motion satin stitch beads. Here’s the block layout prior to chicken tracks or any other stitching.
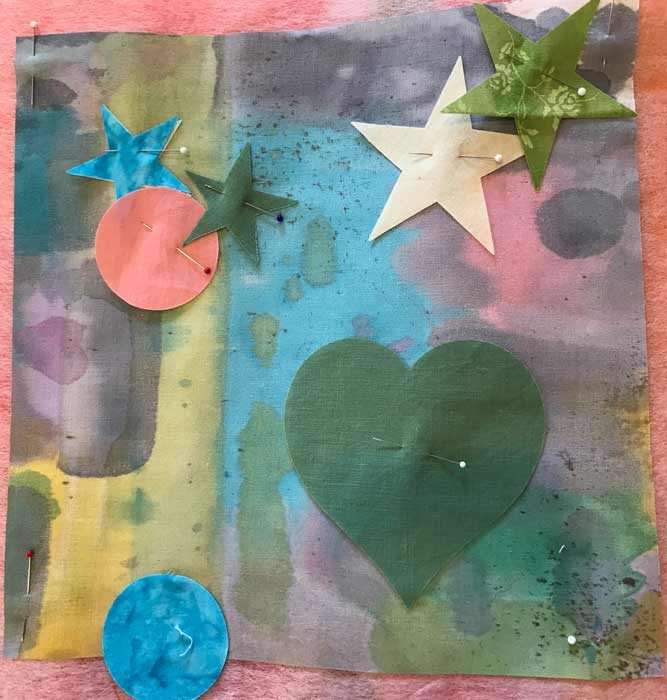
Layout prior to any stitching
Here’s the block after chicken tracks have been stitched.
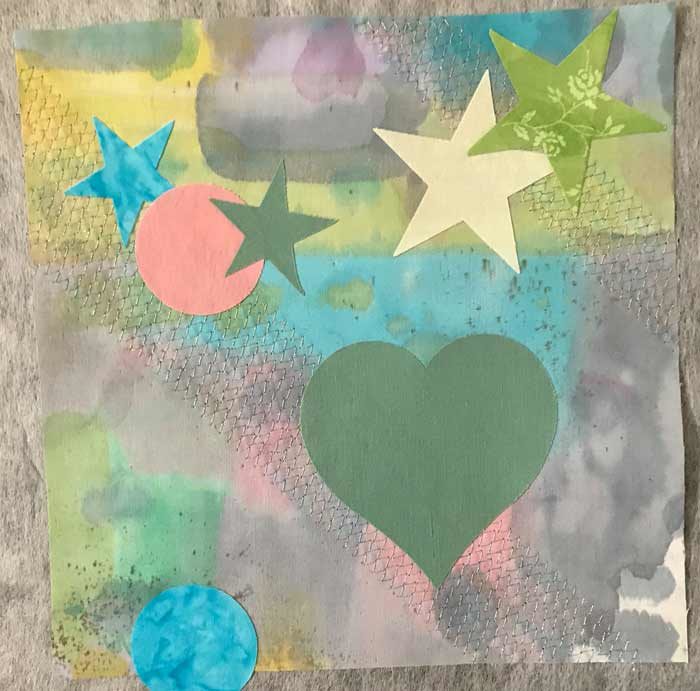
Layout after chicken tracks
If you know hand embroidery, padded satin stitch is done by stitching in one direction then stitching over these same stitches in the other direction. This raises the motif, such as a flower petal, providing surface relief much in the same way trapunto does in quilting. This is the idea behind satin stitch beads. First you stitch in one direction then the other. I fill in any bare background areas, rounding the bead out. I really like the lively appearance these beads give to a piece. The beads feel fun and whimsical.
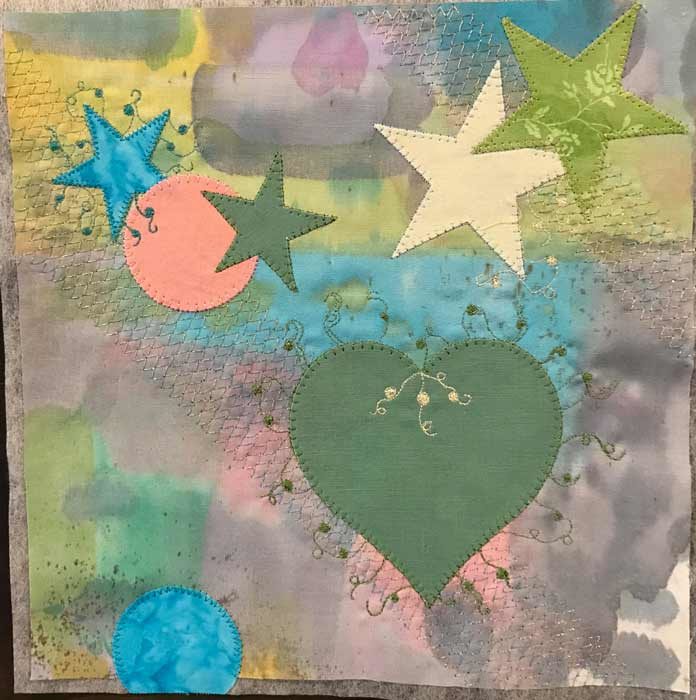
Free motion satin stitch beads
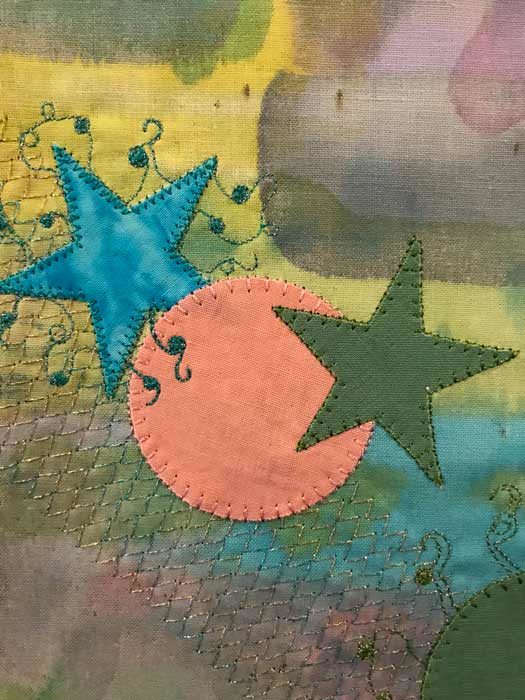
free motion satin stitch beads detail
The other type of satin stitch beads are done in the automatic stitch mode. Here’s my block layout prior to stitching. Note the lines I’ve created with chalk just to give me a guide line.
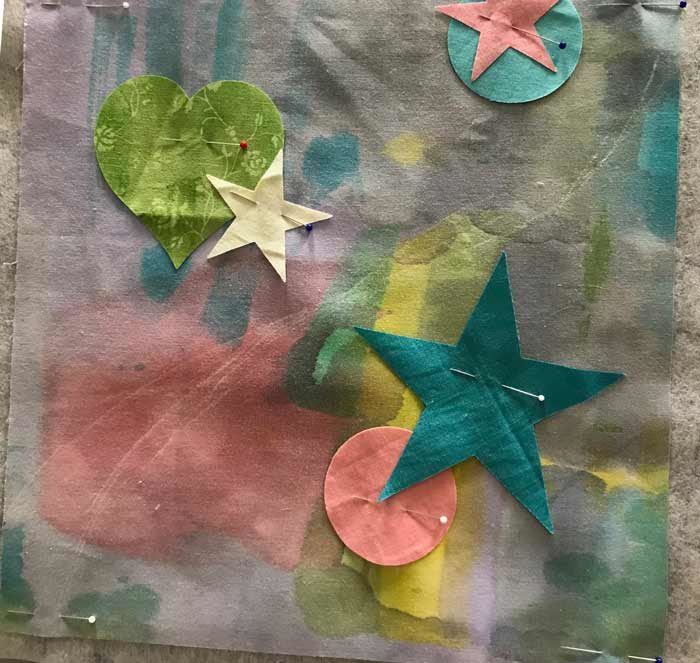
Layout prior to stitching
Here’s the pathway I created using three different colors. Rather than stitch from one bead to another as I do with free motion beads, you “jump.” You can vary the size of the beads and how you interweave them. Note I used the yellow in two spaces rather than all the way through.
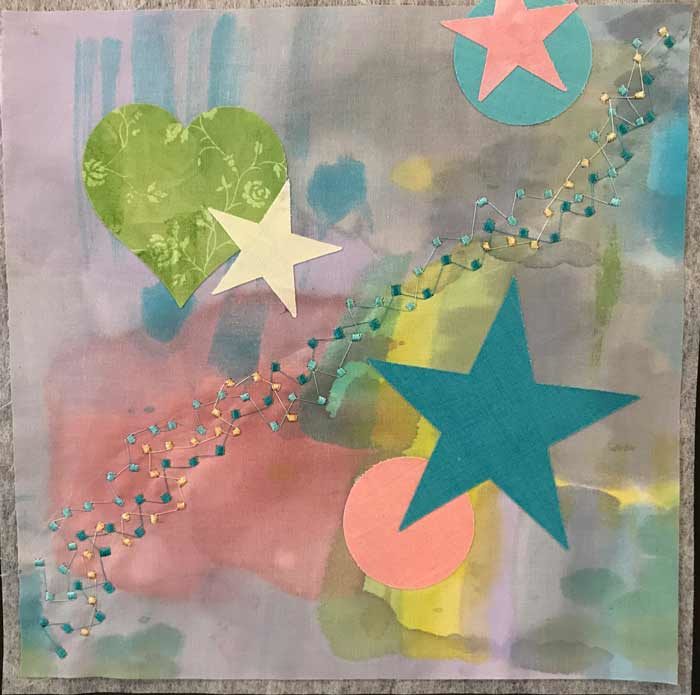
Automatic satin stitch beads
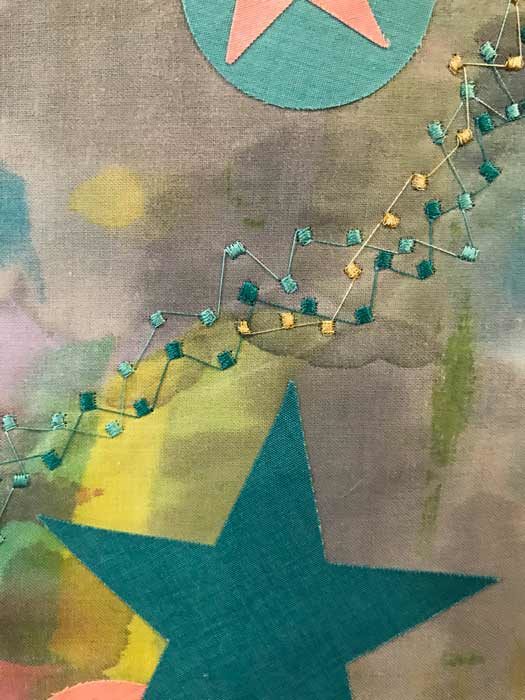
Automatic satin stitch beads detail
Going back to drizzle and chicken tracks, either technique is a great way to appliqué raw-edge sheer fabrics, which can be so tricky to deal with. You can apply the sheers prior to stitching either with a fusible or a spray adhesive. I drizzled in diagonal bands to show the effect between the two machine techniques. What I like about applying sheers this way is how the effect is one of transparency.
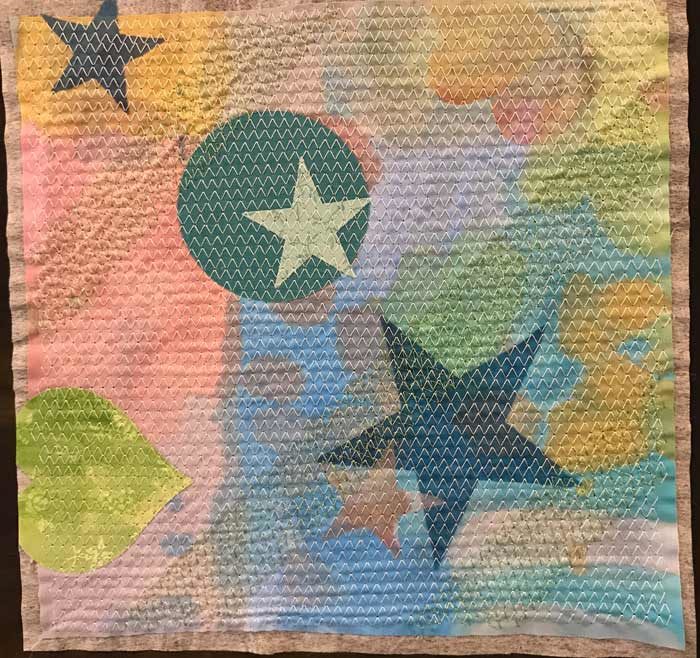
Sheer fabric appliqué
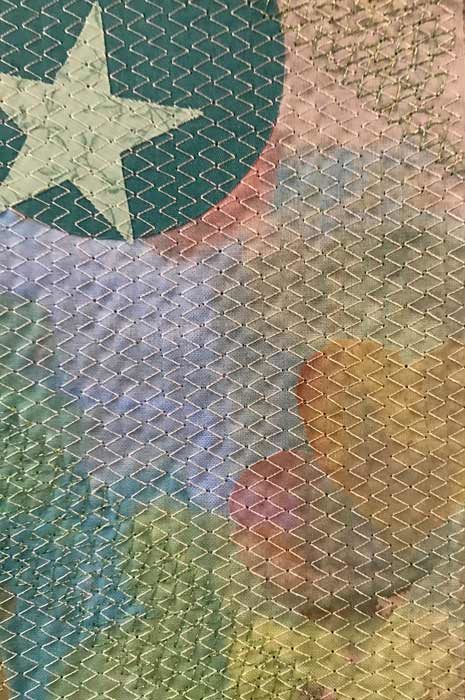
Sheer fabric detail featuring layered hearts lower right-hand side
This detail shot shows a small star over a dark blue one.
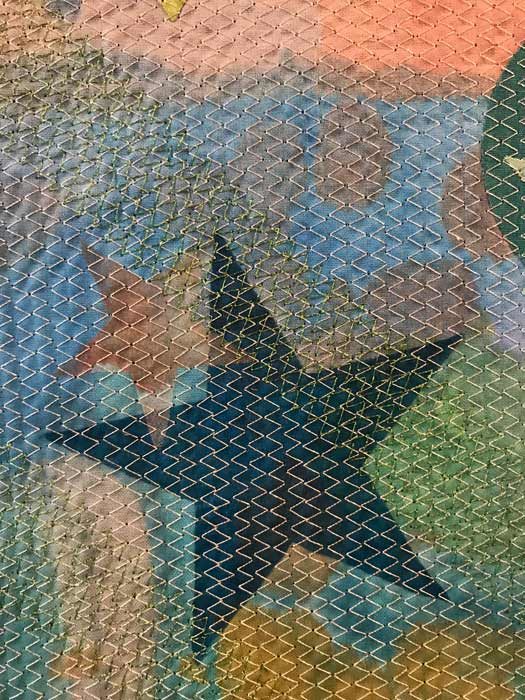
Sheer fabric appliqué with drizzle
Please join me for this workshop. We’re going to learn a lot and have fun doing it.


