Yesterday I attended a daylong class with Jacquie who is known for her modern quilts. While she can free-motion quilt, she has seriously explored the possibilities of quilting with the walking foot, which she calls forward motion quilting. At the beginning of class and before we actually started quilting some of her designs, she had us run our machines through two tests. The first test was to determine the width of our channels based upon the distance between the sewing machine needle and the outside edge of the walking foot. Most of us were either 1/2″ or 3/8″ in distance but one quilter was only 1/4″. This is important to learn because it allows you to do a great deal of your quilting without marking. The second test was to determine the setting of your pressure foot. You do this by stitching the length of your test piece. Then turn your fabric a quarter turn and stitch perpendicularly over your line of stitching. If you have no puckers–good pressure. If you do, you need to lessen the pressure on your foot. I took my more than 30 year-old Bernina 1230, which has no pressure foot adjustment. Fortunately, for me, my machine stitched great.
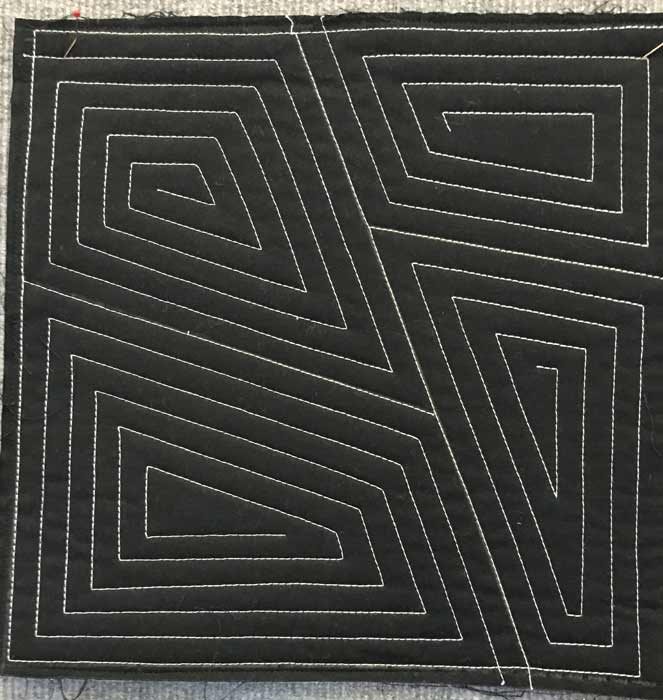
Then she put us through a variety of stitch patterns. Following are just some of them in no particular order. We didn’t do all of these. Nor was I able to take photos of all of her quilting designs. If you are interested in pursuing more information, I urge you to order a copy of her book “Walk”, which comes out next month. While you can order it through Amazon, she encouraged us to order through our local quilt shop or ask the library to purchase it for use. The Amazon link will give you a good description of Jacquie’s book.
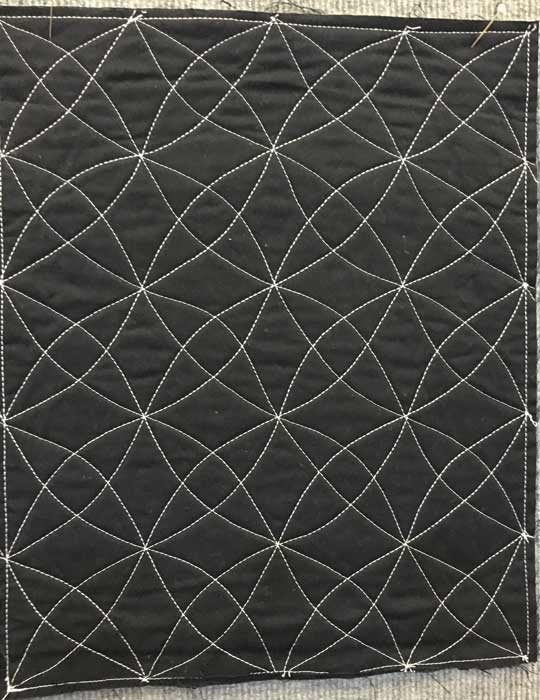
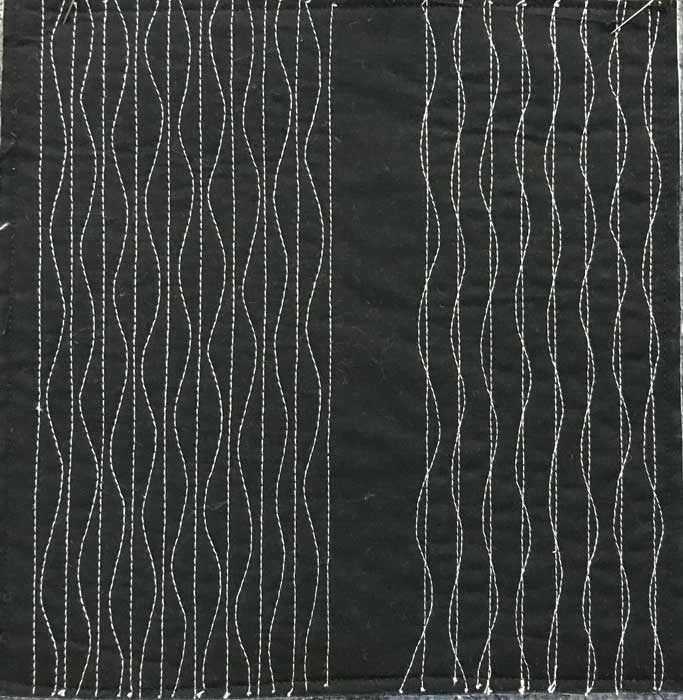
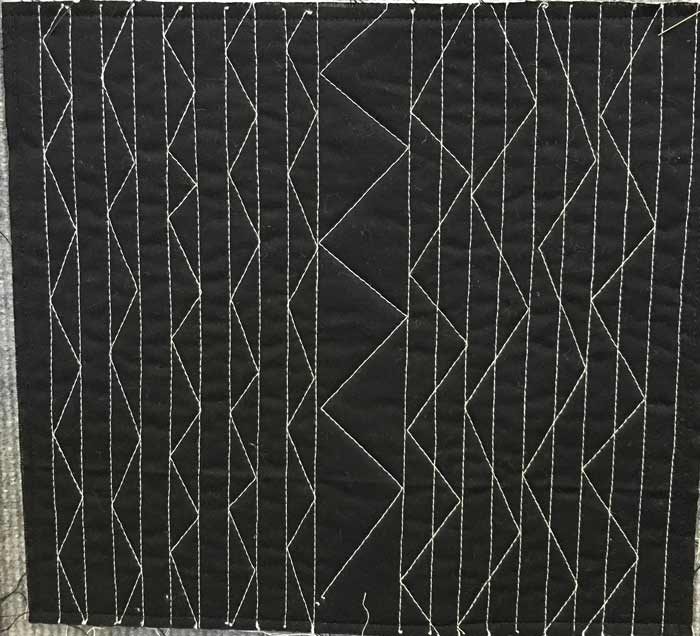
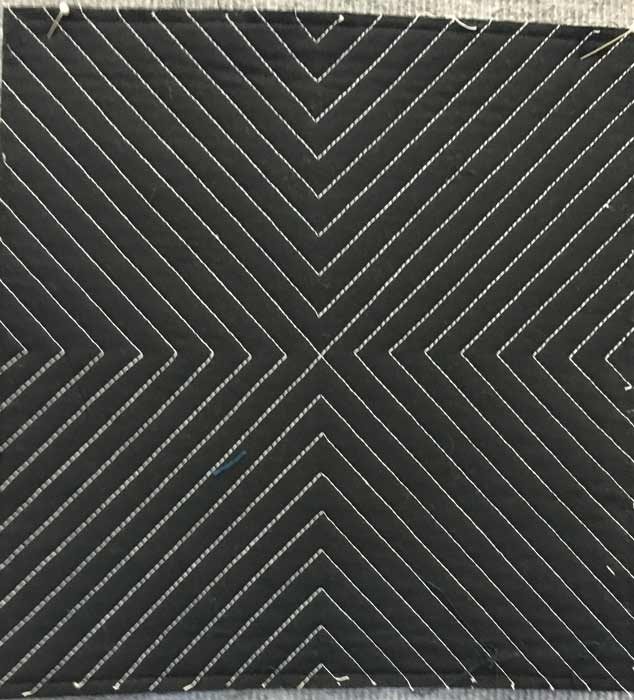
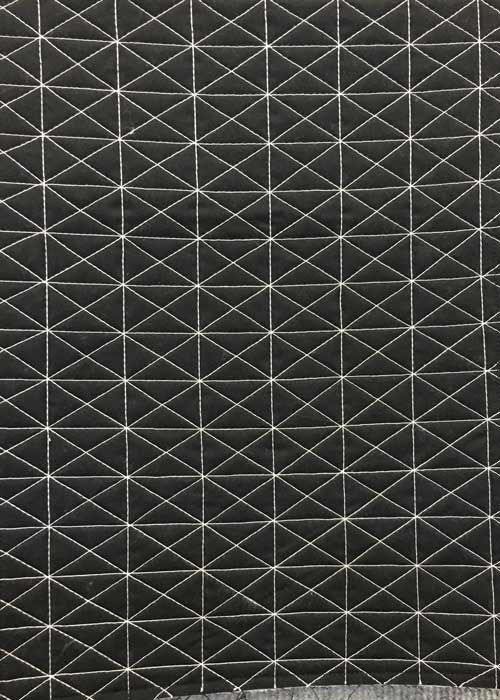
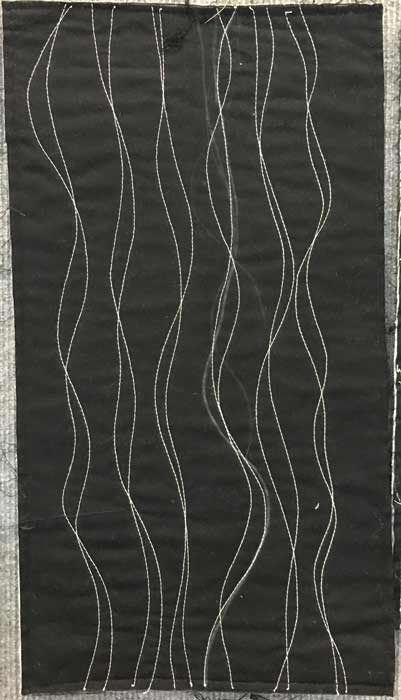
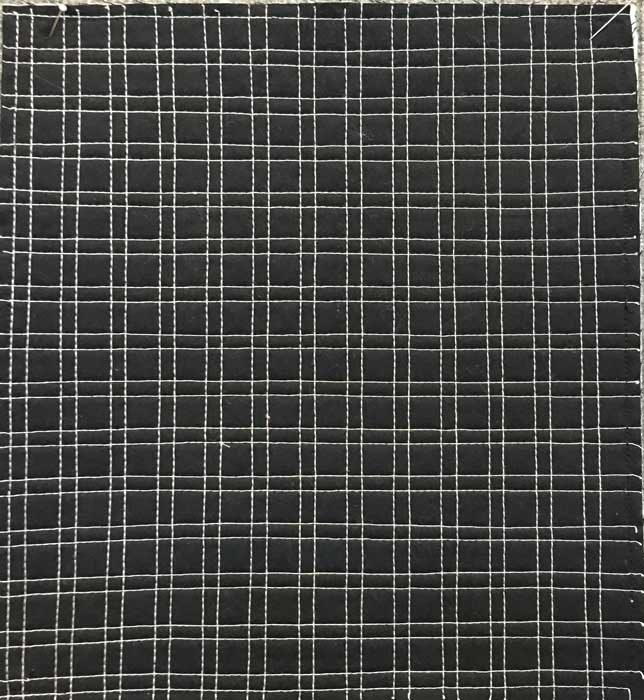
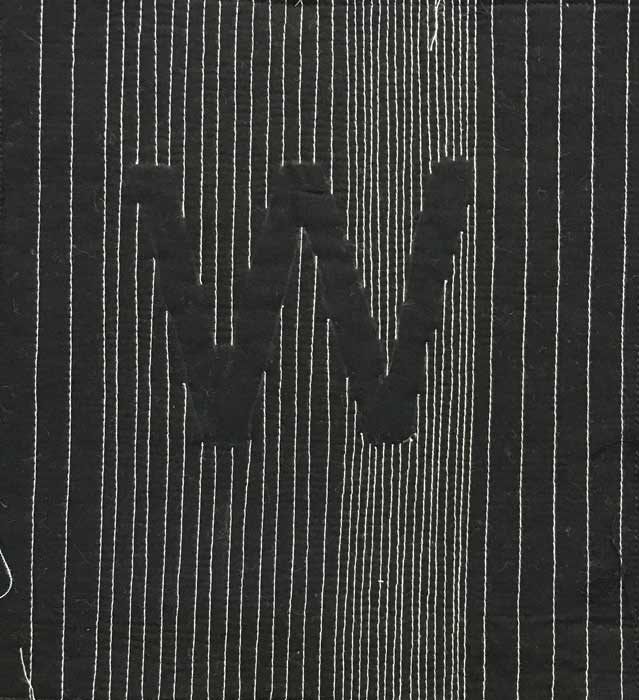
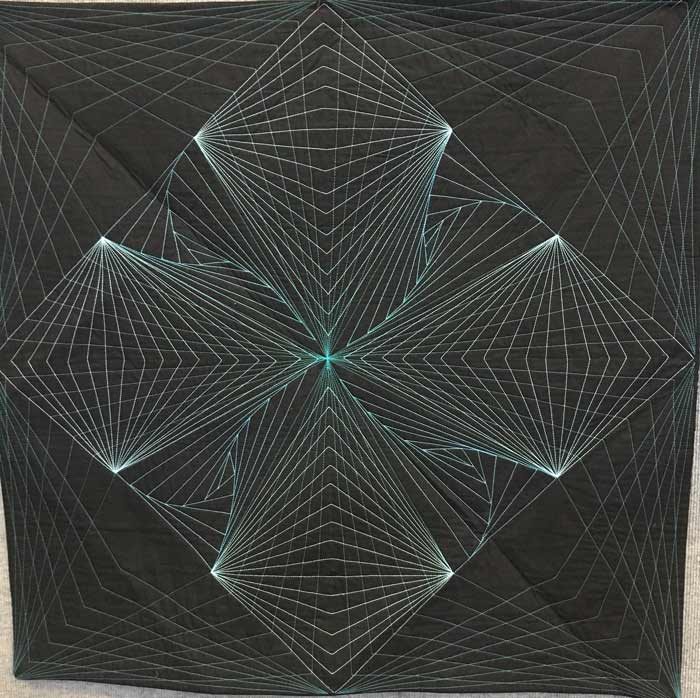
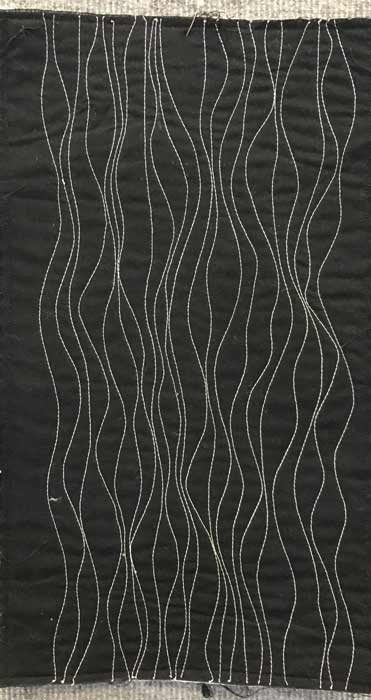
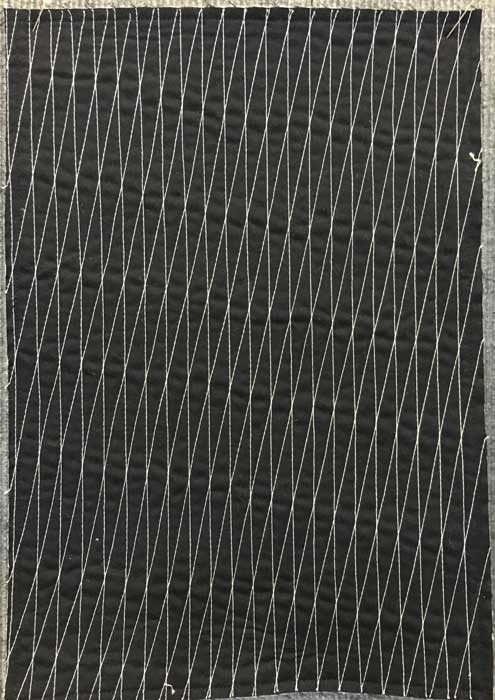
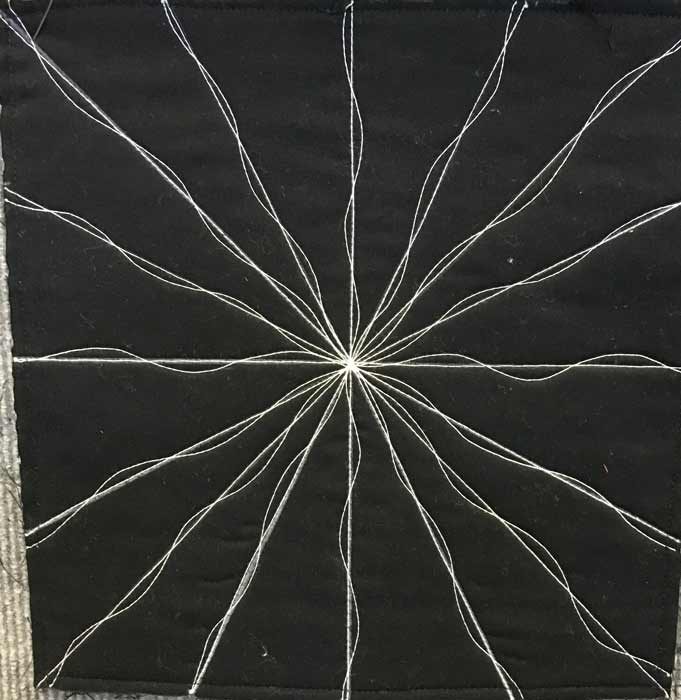
Besides learning about technical issues concerning walking foot quilting and some great textural designs, I learned a great technique having nothing to do with the actual quilting but everything prior to it. Jacquie strongly suggested we spray baste our practice samples rather than pin basting to make quilting more quick and efficient. I hadn’t glue basted in a long time. Nevertheless, I purchased a can of 505 (which coincidentally is what she recommends) and proceeded to glue baste. I quickly recalled why I hated this method. No matter how carefully I hovered over the batting with my top or backing, I never lined things up well and ended up peeling the fabric off repeatedly. I probably did this 5 times each side for each of the 6 pieces she had us prepare. When you think about it, gravity is not your friend in this case. By the time I finished, I had spray glue stuck to my fingers and under my fingernails. Took me forever to get it off. Well–she uses her design wall. She makes sure her batting is relaxed then pins it to her design wall. She sprays the back of her top. Then she folds it in half right sides out and carries it in to her design wall. She matches the back half of the top to the batting then drops down the lower half. Next she smooths out the fabric onto the batting top to bottom, getting out all of the wrinkles. After she does the same for the backing, she takes the sandwich to her ironing board and presses, starting from the middle. Someone in class suggested some irons allow you to press vertically on a design wall, so there was another tip. I am absolutely going to try this system for my next quilt. As she said, no crawling around on the floor or bending over a table.
As part of the class, we explored the use of decorative stitches, with utility stitches being particularly well-suited to walking foot quilting. Jacquie also taught us how to stitch spiral and concentric forms, such as circles and triangles without breaking the thread. It was an excellent class, which I would recommend to anyone. Quilting with your walking foot extends the techniques available to you. I have a longarm and several professional longarmers were in the class, as well.


