Today’s lesson was how to repair photos which are less than perfect due to scratches, power lines, unwanted elements, or you simply didn’t take a good photo in the first place. I didn’t have a photo fitting this description so I used the sample provided.

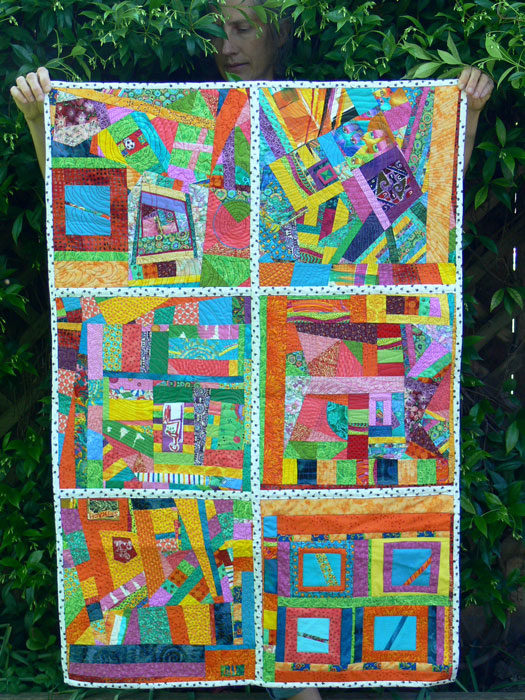
Original Image for repair
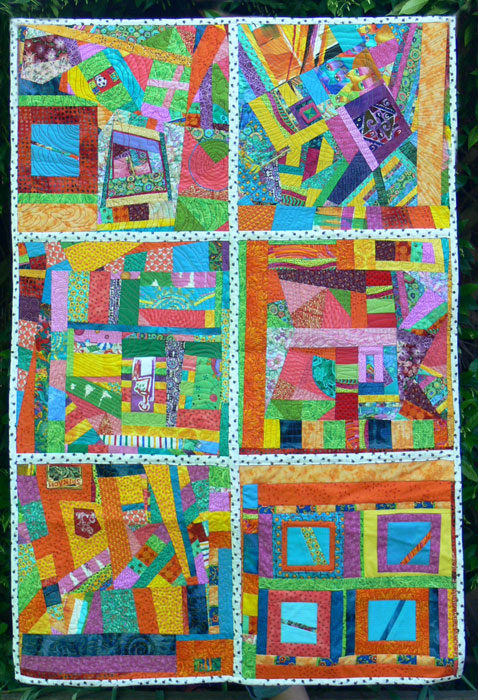
You can see hands in either corner, a face at the center top and the quilt is hanging askew. The first thing I did was crop the image. There’s no sense working with areas you don’t plan to keep. Then I used a Filter called Correct Camera Distortion, which worked great. If I had needed to “pull out” or extend the lower left corner, you can do that, as well. The final image isn’t perfect as far as being straight, but it’s much better.
Then I tried the Spot Healing tool on the face at the top. It is the simplest tool to use to make corrections. It works very well on thin lines or spots. I wasn’t satisfied with it in this situation, so I went to the Clone Tool. As I worked with it, I recalled that I found it challenging in the past. It’s probably the first tool we’ve used in the lessons that takes real practice. You will see in my repaired image the top corners are fuzzy or somewhat muddled looking. It was very difficult, no matter how many times I tried, to make the binding corners look sharp. I found I could only go over so many times with the clone tool before this happens. So practice it is.

Repaired Image


