I had a two week break after completing part one of Photoshop Elements (PSE) lessons with the Pixeladies. Part two started last week. In the first seven lessons, we’ve learned to do all sorts editing, using tools in a more complex series of actions. I am starting to put together how I will use what I’ve learned to design my work using my tablet and PSE.
Here’s an example where we “cut out” a motif and eliminated the background. I could then move these floral motifs onto another file and incorporate it into a composition.
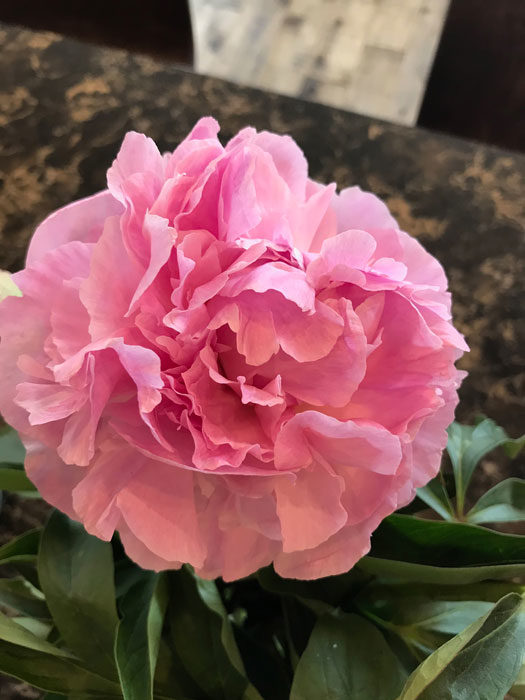
Pink flower–original

Pink flower minus the background
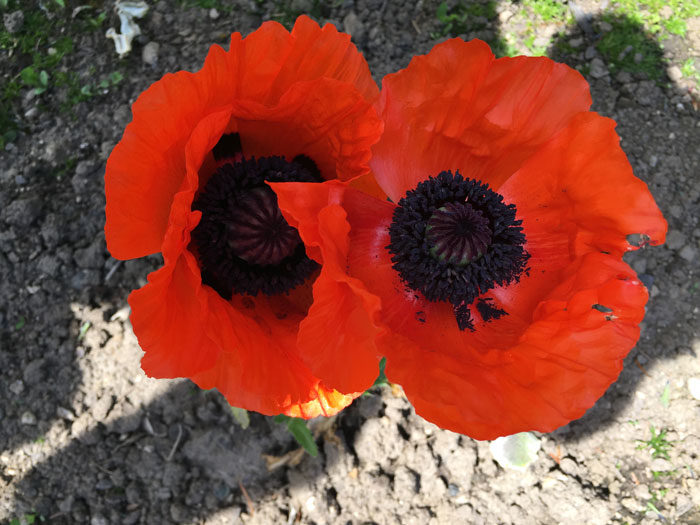
Poppies original
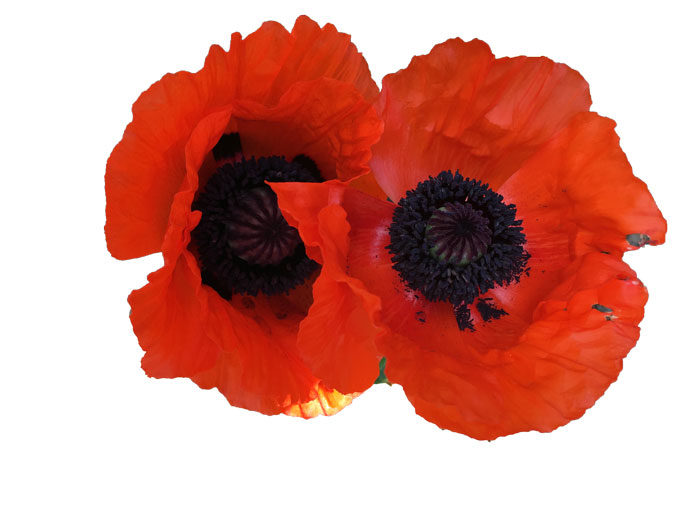
Poppies “cut out”
We’ve learned to add text using the Text tool then use the shape tool to frame and/or highlight the text. Here are two photos I captioned. You can see how useful captioning can be when you want to record memories.
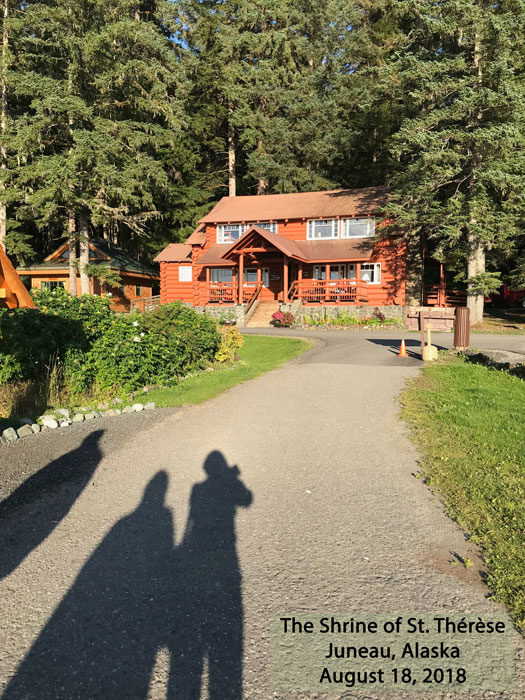
The Shrine of St. Therese
Or in this photo, how you can play around and have fun.
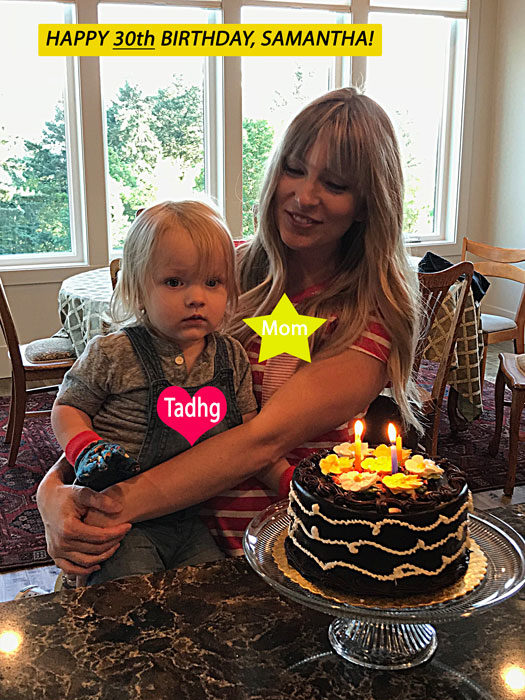
My niece-in-law’s birthday
Then we’ve played with “paper dolls” and simple shapes, such as the surfboard, provided by Pixeladies in a variety of ways. We learned how to use layers, which allows you to build images one motif at a time. We learned how to combine motifs, draw our own shapes, and color the images, with each becoming more complex as we add new tools to our toolbox.
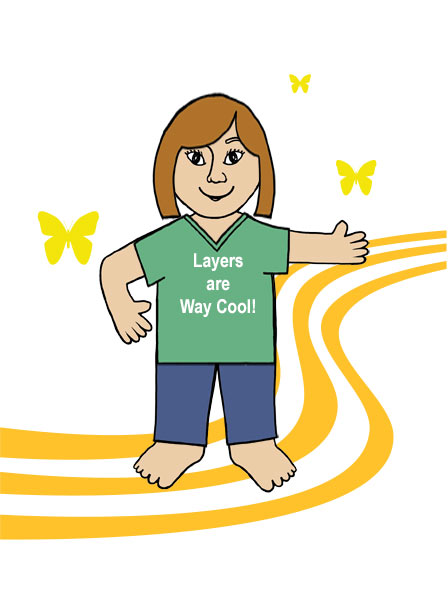
Plain Jane
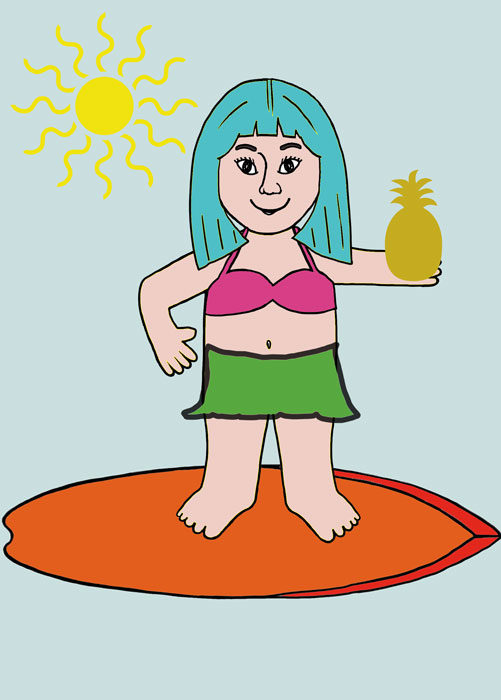
Surfer Sally
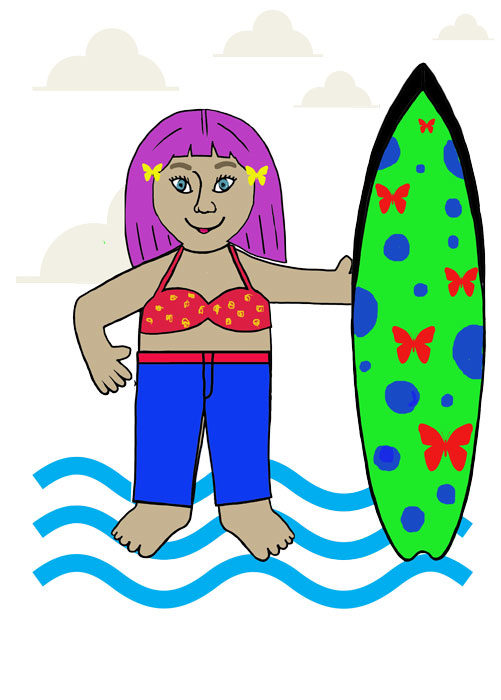
Surfer Sally #2
Today in lesson seven, we learned how to open two photos at a time and move elements from one photo to another as well as to a new blank file. For this one, I combined a photo I’ve taken of a surfer at Cannon Beach along with a Surfer Sam paper doll, and his story in text.
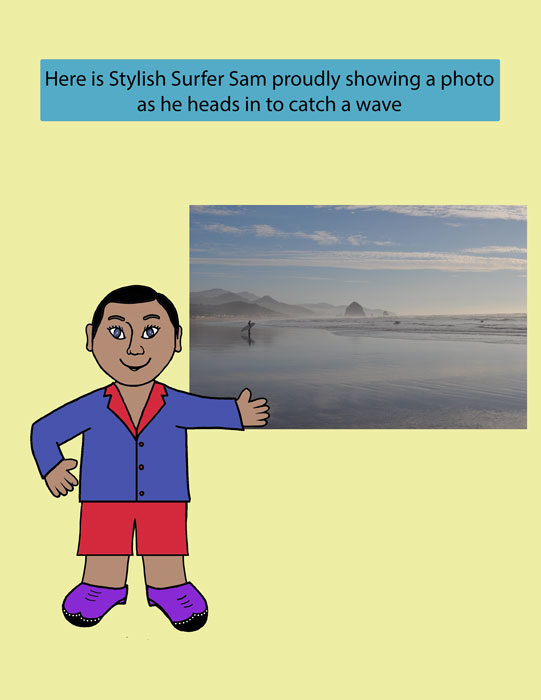
Surfer Sam


